May 31, 2009
Posted by: pctutorials : Category:
Case Mods

I'll admit, I'm not really into water cooled PC's since I don't know much about them. But when I saw this mod, I was gobsmacked. Using an acrylic-top desk laser cut, combined with an aluminum frame, they created thier computer desk. Looks goods, runs cool AND save's floorspace, this is a winner and I'd be very interested in attempting such a similar mod myself (if I had the funds  ). You can check out the rest of the article over at popularmechanics.com
If you enjoyed this post, make sure you subscribe to my RSS feed!
May 21, 2009
Posted by: pctutorials : Category:
Case Mods,
How To
Man was I amazed when I saw this:
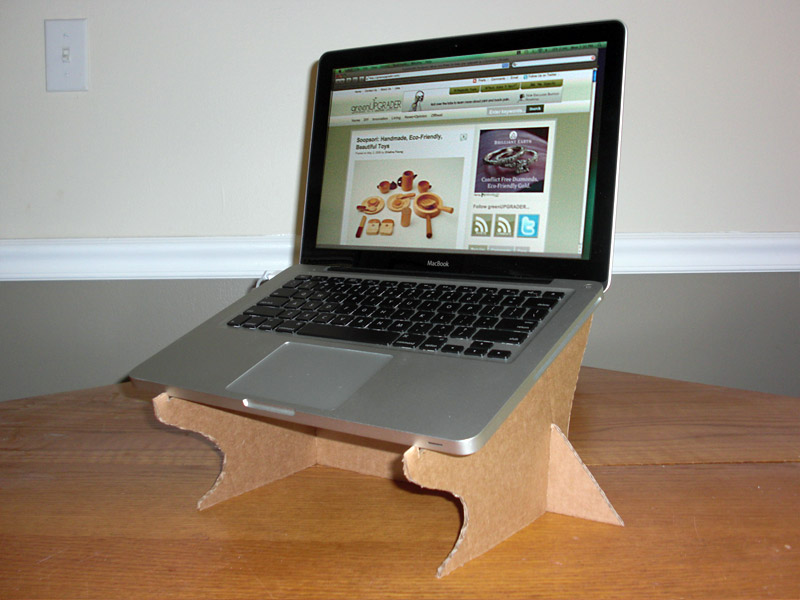
GreenUpgrader has managed to create an usable and cheap laptop stand. I know it doesn't look a million dollars but hey, it will certainly increase airflow to the Laptop and will provide better screen position. Head over to GreenUpgrader to print out the template yourself and give it go. The how-to article is easy to follow and has plenty of pictures to go with it. My laptop is out for repairs at the moment and does weigh a fair bit. With a few modification, I might just have myself a cheap, effective and usable cardboard laptop stand. Have fun!
If you enjoyed this post, make sure you subscribe to my RSS feed!
September 17, 2008
Posted by: pctutorials : Category:
Case Mods,
Quiet PC,
Tips
What do you mean “suspend” your hard disk? This is a very common practice for quiet PC enthusiasts. It’s the instance of taking your hard disk and holding it in place using elastic. What’s the advantage? Hard disk noise is greatly reduced because usually when hard mounted, the hard disk transfers noise through the screws and onto the case chassis. This amplifies the amount of noise being made. I’ll show you how I did mine and best of all, if you have two pairs of old undies hanging round, you can do this mod for free!
First thing to do is to obtain some elastic. If you have some old undies, these would be perfect for this operation. Cut off the material part of the underwear, which will leave you with two loops of elastic, one from each.
Elastic; check!
I’m using a 5.25 inch drive to mount my hard disk; however you may be able to find somewhere else to mount it. Once you have you elastic mounted and secured, feed the hard disk drive through the elastic and verify that it isn’t touching the metal chassis. It’s a bit of trial and error, but you should find a sweet spot. Re-connect the Hard disk drive power and SATA (or IDE) and boot it up. You’ll be amazed at what you can’t hear anymore. The elastic magically absorbs the vibration, which in turn dampens the noise. Not bad for two pairs of old undies eh? Enjoy.
If you enjoyed this post, make sure you subscribe to my RSS feed!
September 01, 2008
Posted by: pctutorials : Category:
Case Mods
Over at Tweaktown, Andrew Jones has built a stunning computer into a suitcase. This is perfect for lan parties where portability is required and best of all, it’s a really cheap case. Go check it out, might give you some ideas.

If you enjoyed this post, make sure you subscribe to my RSS feed!
August 13, 2008
Posted by: pctutorials : Category:
Case Mods
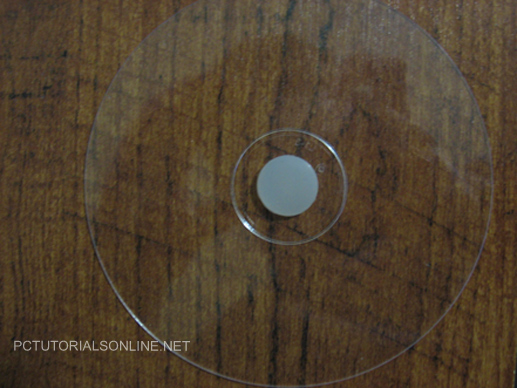
Many PC’s today have clear plexiglass side windows to allow the internals of your PC to be seen by the rest of the world. And more often then not, have a fan hole on them. This is great for people that are overclocking or who want extra airflow, but what about those who are after a quiet PC? You could argue that if silence was the primary objective, they should have purchased a case without a side fan hole. But for some us, we entered the quiet PC realm to late and thus have ended up with not so quiet gear. I’m going to show you how you can solve this problem with the following items: One clear CD/DVD protector, (the ones that can be found in a bundle of 50 CD-R’s) One silicon gasket, (Can be found in a black Canon inkjet cartridge protector) General purpose glue (or anything that will hold plastic/silicon together).
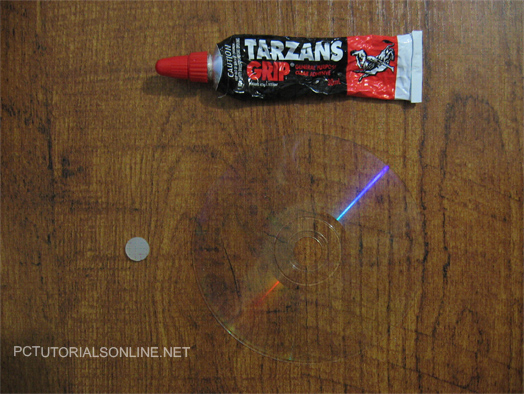
Items for the job: One silicon gasket, One CD-R Protector, Tarzan Grip (clear adhesive)
How it’s Done
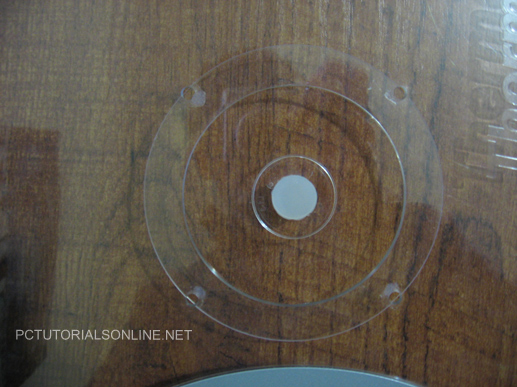
First off, glue the silicon gasket to the center of the CD protector. You’ll need to apply only a small amount of glue around the edges of the gasket, and then apply pressure for about a minute to let it set.
It looks like they were made for each other.
Once the glue has set, sit the complete “plug” over the pc fan hole and center it so you’ll have a rough idea where you want it placed. Got a rough idea? Ok. Apply four small dots of glue approximately the size of a fan screw next to the screw holes. Place the plug in the center of the hole and apply pressure for a minute.
Glue applied and ready to go back on the case.
Once it’s been affixed, put the side panel back on your case and voilà, you’re done.
If you enjoyed this post, make sure you subscribe to my RSS feed!