August 14, 2008
Posted by: pctutorials : Category:
Tips,
Windows
The quality of text on your screen is very important to you as it affects your eyesight. The clearer the text, the less eye strain. There’s a simple tweak to improve the appearance of text and best of all, its free. Cleartype, a technology Microsoft invented back in January 2000, was aimed to improve the appearance of text on computer displays. Despite when it was made, it wasn’t made default in Windows Xp. Here’s how you enable it:
- Right click on the desktop and select Properties.
- Select the Appearance tab and click Effects.
- Tick “Use the following method to smooth edges of screen fonts” and select from the drop-down box “ClearType”
- Click OK and Apply.
The text on your screen should now be a lot clearer and sharper.
If you enjoyed this post, make sure you subscribe to my RSS feed!
August 13, 2008
Posted by: pctutorials : Category:
Case Mods
Many PC’s today have clear plexiglass side windows to allow the internals of your PC to be seen by the rest of the world. And more often then not, have a fan hole on them. This is great for people that are overclocking or who want extra airflow, but what about those who are after a quiet PC? You could argue that if silence was the primary objective, they should have purchased a case without a side fan hole. But for some us, we entered the quiet PC realm to late and thus have ended up with not so quiet gear. I’m going to show you how you can solve this problem with the following items: One clear CD/DVD protector, (the ones that can be found in a bundle of 50 CD-R’s) One silicon gasket, (Can be found in a black Canon inkjet cartridge protector) General purpose glue (or anything that will hold plastic/silicon together).
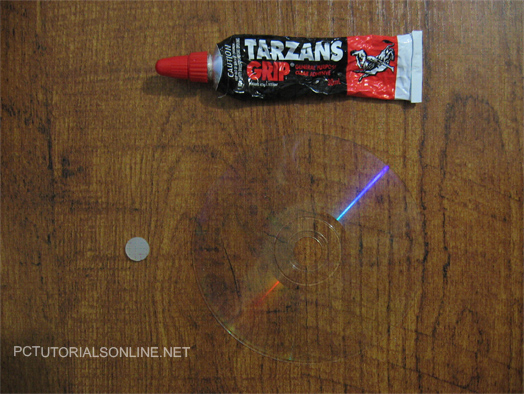
Items for the job: One silicon gasket, One CD-R Protector, Tarzan Grip (clear adhesive)
How it’s Done
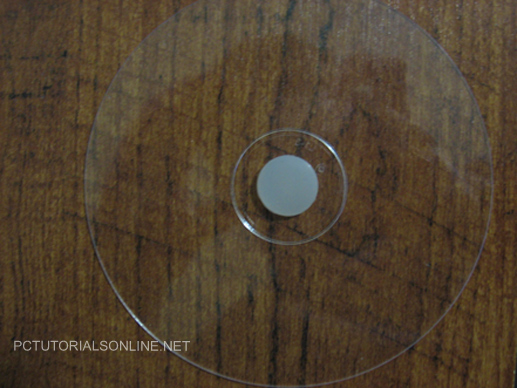
First off, glue the silicon gasket to the center of the CD protector. You’ll need to apply only a small amount of glue around the edges of the gasket, and then apply pressure for about a minute to let it set.
It looks like they were made for each other.
Once the glue has set, sit the complete “plug” over the pc fan hole and center it so you’ll have a rough idea where you want it placed. Got a rough idea? Ok. Apply four small dots of glue approximately the size of a fan screw next to the screw holes. Place the plug in the center of the hole and apply pressure for a minute.
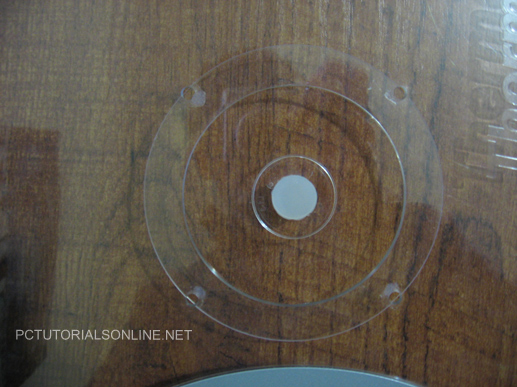
Glue applied and ready to go back on the case.
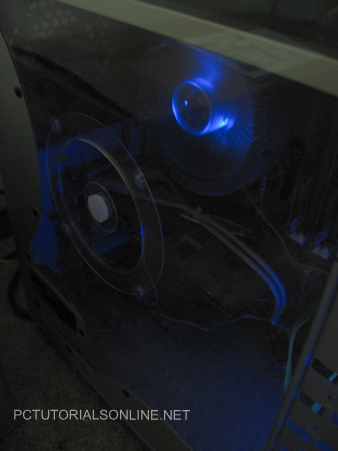
Once it’s been affixed, put the side panel back on your case and voilà, you’re done.
If you enjoyed this post, make sure you subscribe to my RSS feed!